Mastering Fire Knight Queelign's Questline: A Comprehensive Guide in Elden Ring Shadow of the Erdtree DLC
- Jul 03, 2024
- 1055
How to complete Fire Knight Queelign's questline in Elden Ring Shadow of the Erdtree
Fire Knight Queelign is an NPC you meet in Elden Ring's Shadow of the Erdtree DLC. He's one of the more aggressive NPC characters you meet in the Shadow Realm, and you'll have to fight him on at least two occasions as an NPC invader. At the end of the day, though, he still needs your help to end his suffering and complete his story, so here's everything you need to know about how to complete Fire Knight Queelign's questline.
How to complete Fire Knight Queelign's questline
There are three stages to Fire Knight Queelign's questline, and you'll need to find him in three separate locations to complete the quest:
First meeting: Belurat, Tower Settlement
You'll likely first encounter Fire Knight Queelign as an Invader NPC in the upper town section of Belurat, Tower Settlement, the first main legacy dungeon in Shadow of the Erdtree that's located in the western part of Gravesite Plain.
While it's not strictly necessary that you meet him here first (it's possible, for example, to meet him at the Church of the Crusade first instead if you skip Belurat and go straight to Scadu Altus), we've listed your encounters with Fire Knight Queelign in this particular order as you're more likely to come to Belurat as part of the main story before you get to Scadu Altus.
In any case, it doesn't matter what order you complete the first and second meetings with Fire Knight Queelign, as you'll need to fight him twice before he drops the Prayer Room Key - an important item you'll need to access Queelign's third and final location to complete his questline.
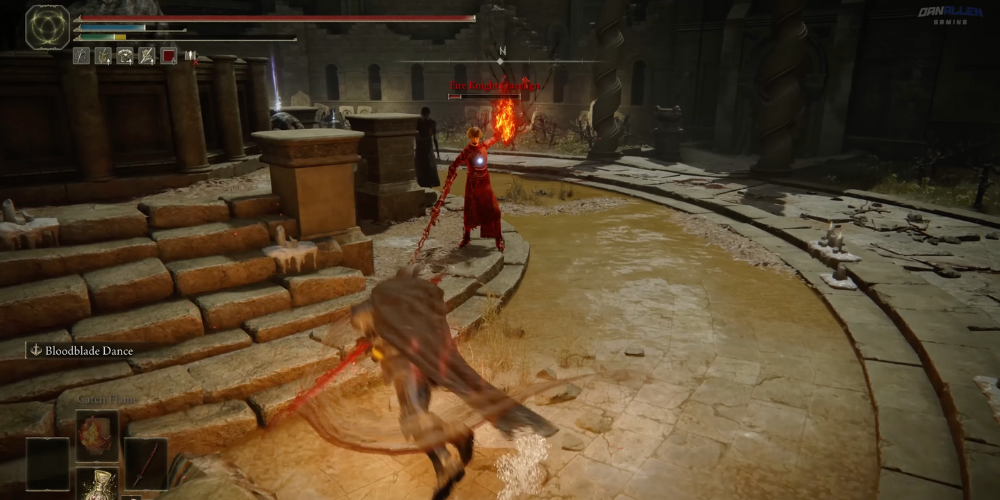
You can find a detailed explanation on how to find Fire Knight Queelign in our Belurat Tower Settlement walkthrough, but here's the route in summary, as well as the exact location of where you'll find him on the map: Just before Fire Knight Queelign appears, you'll hear his voice say: "Those stripped of the Grace of Gold shall all meet death. In the embrace of Messmer's flame." He should be fine for seasoned Elden Ring players, but watch out for his flaming sword attacks. They can pack quite a punch if you're caught off-guard, and the sword itself has a surprisingly large reach. He can also heal himself when his health gets low.
On defeat, he'll drop 6350 runes and the Crusade Insignia talisman, which gives us a clue about his next location. He'll also end this encounter by saying: "Mark my words, graceless heathen. Thou shalt not evade the flame of Messmer."
Second meeting: Church of the Crusade, Scadu Altus
True to his word, you'll meet Fire Knight Queelign a second time at the Church of the Crusade in Scadu Altus. Here is the Church's precise location on the map:

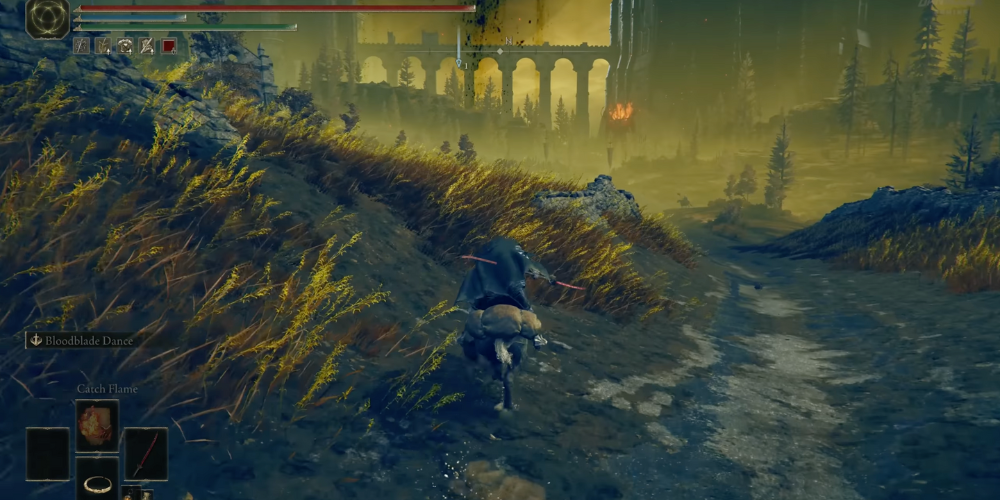
To get there, ride northwest from the Site of Grace 'Highroad Cross' (located immediately outside the rear exit of Castle Ensis after defeating Rellana, Twin Moon Knight). As you approach, you'll see the church up on the hill just before you get to the soldier encampment along the main road towards the Shadow Keep.
To get Fire Knight Queelign to appear, you'll need to collect the pair of Scadutree Fragments from the statue at the end of the church. As you approach the statue, you'll hear Queelign's voice again, repeating the words he uttered to you just before he died last time: "Thou shalt not evade the flame of Messmer." Once again, you'll need to defeat him in battle to progress Queelign's questline. His attacks are exactly the same as before, though if you want the added benefit of jabbing him from a distance, you can lead him outside and summon Torrent to fight him on horseback if you prefer.
When you defeat him a second time, he will say: "Ahh, how could this be... Forsake me not. Queen Marika, my grace..." He will also drop the Ash of War: Flame Skewer and the Prayer Room Key, which is once again another clue to where you'll find him next.
Third meeting: Shadow Keep's Prayer Room
As you might have guessed, you'll need to find where to use this mysterious Prayer Room Key before you can meet Fire Knight Queelign again. Happily, we've got an entire walkthrough on where to use the Prayer Room Key, and it's in the Shadow Keep's Church District. You'll find the Prayer Room's exact location on the map, as well as a summary of the steps you need to take to reach it:
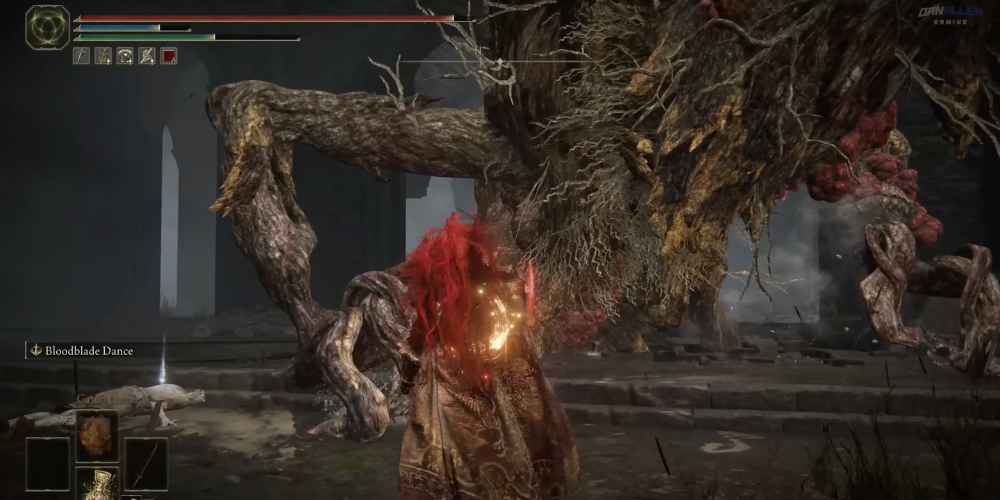
Inside, you'll find Fire Knight Queelign writhing on the floor in great pain. He'll continue his plea to Marika: "Queen Marika, mother to us all. Favour me with thy grace. I have met many who would threaten or distress thee and quelled each and all. And I, at this moment, swear to never cease. So please, grant me thy grace. Leave me with my solitary light..."
If you speak to him a second time, he'll implore Queen Marika once again to "bestow thy grace" on him and "Take not from me my solitary light..." He won't say anything anymore at this point, and you'll need to return here with either an Iris of Grace or the Iris of Occultation before you can bring Queelign's questline to a close.
Once you've obtained these items, you'll be given a choice. Give him the Iris of Grace, and Queelign will be able to keep his solitary light, allowing you to receive Fire Knight Queelign as a Spirit Ash so you can summon him in battle to continue his quest of protecting Marika.
Give him the Iris of Occultation, however, and Queelign will be denied this light, and you'll receive Queelign's Greatsword as your main reward instead. Personally, we think giving Queelign the Iris of Grace is the better option, as it feels more in keeping with his wishes and storyline, even if he did try and 'quell' you as part of it. If you really want to stick it to him and get your revenge, however, feel free to give him the Iris of Occultation instead and bag yourself a neat new weapon.
That's the end of Fire Knight Queelign's questline, allowing you to carry on your adventures through the Shadow Realm with your new reward in tow. Need more help? Improve your stats by finding all of Shadow of the Erdtree's Scadutree Fragment locations and Revered Spirit Ash locations. Alternatively, see which Erdtree bosses you've still got left to beat, and track down some great new early weapons to help you on your adventure.